A beautiful frame is not proof of a usable revision
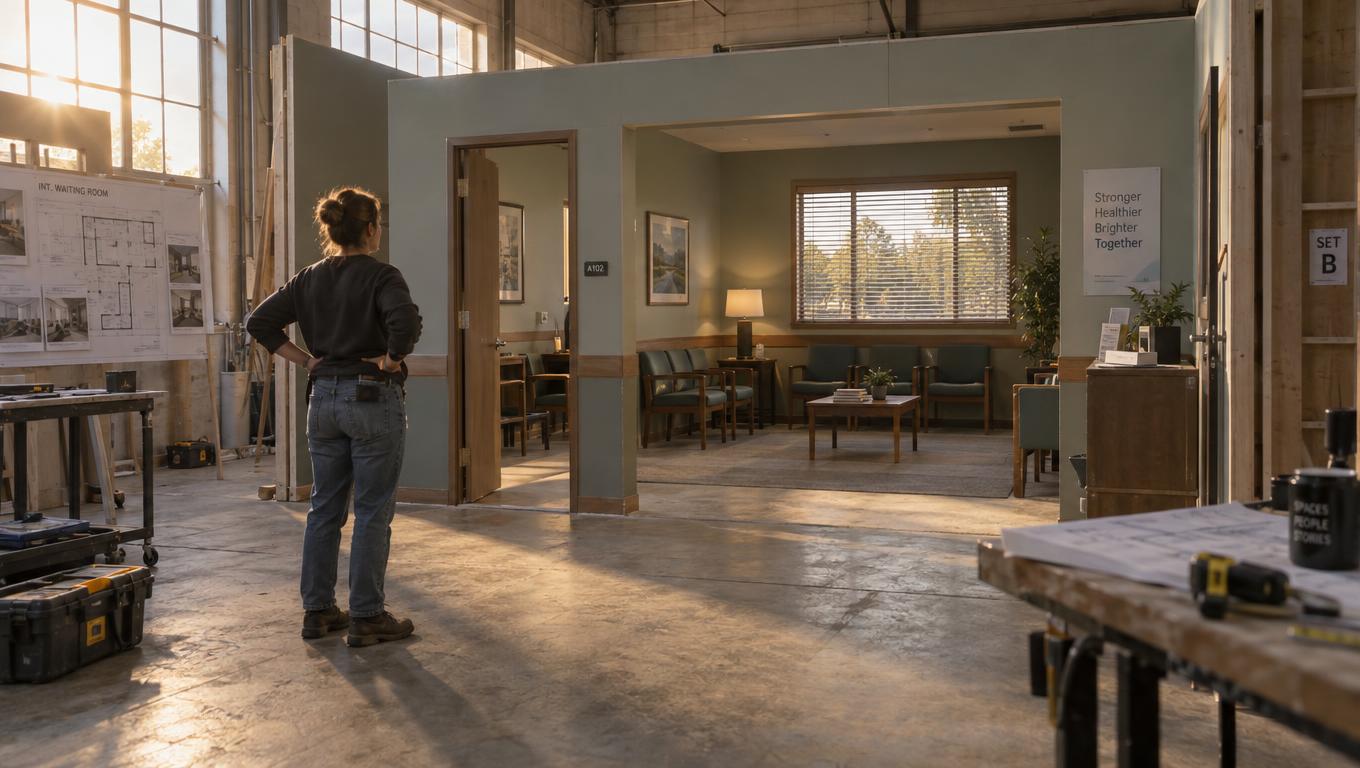
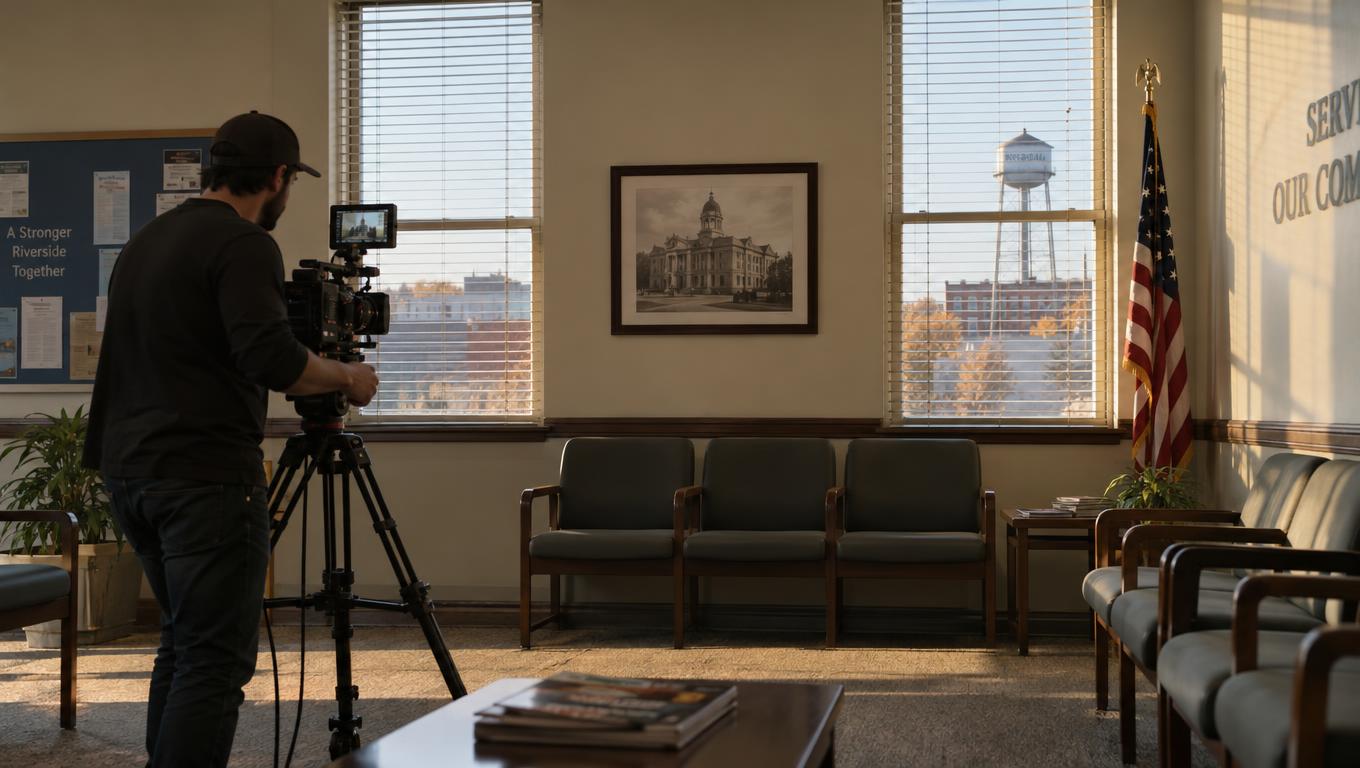
A director likes the waiting-room concept: the light, the worn surfaces and the feeling that people have spent too long there. The next request sounds modest: move the camera closer to the back wall. The revised image looks good, but a window has vanished and the reception desk has changed sides. It is a compelling image of a different room.
That distinction matters when choosing an AI image generator for concept development. A striking first frame may be enough to establish a mood. A production developing locations or characters from a reference needs evidence that the tool can make a requested change without redesigning everything around it.
The following comparison uses two fictional briefs: a closer view of a room and a coat change for a character. Neither proves that a tool understands three-dimensional space or identity. Together, they offer a practical way to test how much control a team can expect, and how much correction a usable result takes.
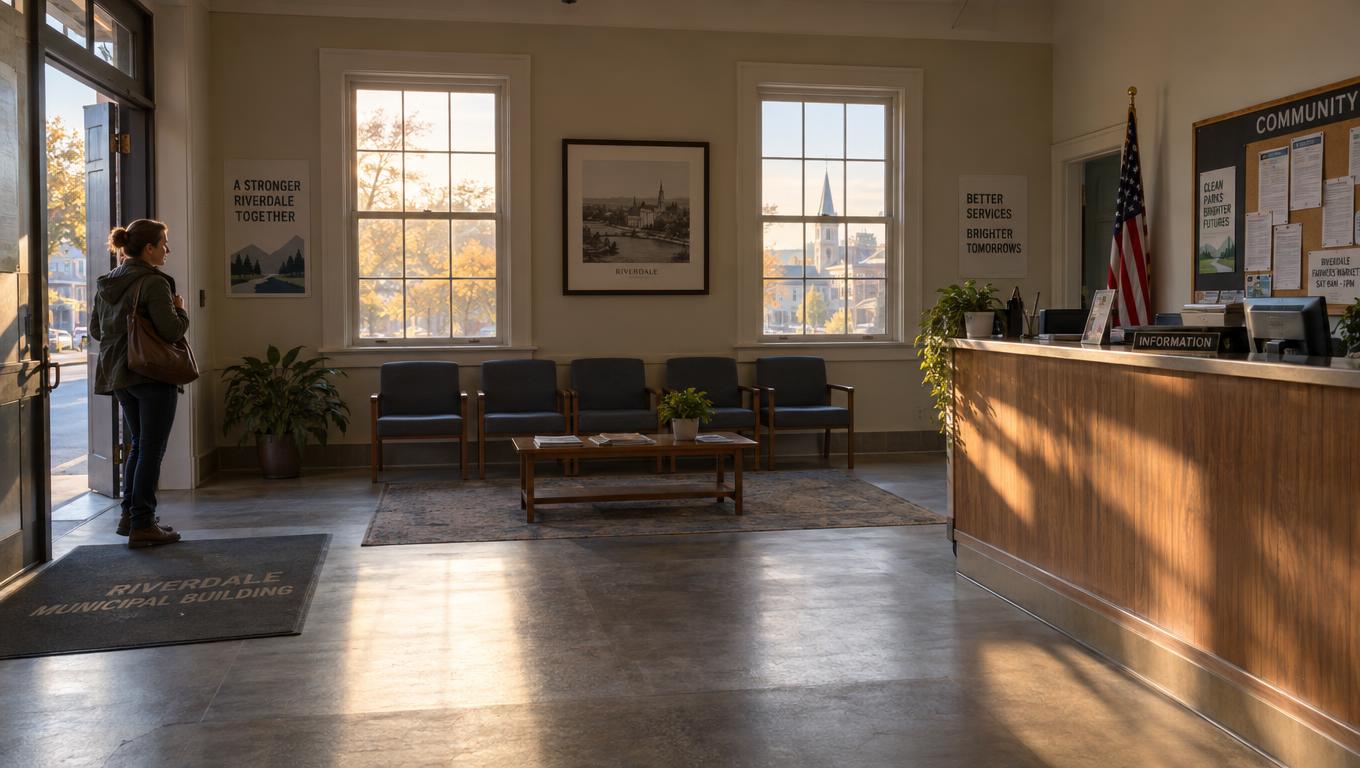
Prepare one room and one character reference
Prepare the starting images outside the comparison, then give every tool the same files. They can be drawn or generated, but they should be clear enough to judge against the briefs below. If a starting image contradicts its brief, correct or replace it before testing and use the corrected version for every tool. Record how it was made and keep the original files unchanged during the comparison.
Room brief: Draw an overhead plan of a rectangular waiting room, 10 units wide east to west and eight units deep south to north. Put a door halfway along the west wall, two windows on the north wall, a reception desk near the east wall and a bench in the southwest corner. Place a rectangular poster midway between the windows. Mark north and label the features.
Put the starting camera on the room’s centerline, two units north of the south wall, facing the poster. Put the closer camera on the same centerline, four units north of the south wall. Neither position should intersect a fixture. In the starting image, show the poster and both windows, with some floor and the reception desk visible. Check the image against the plan and note its materials and lighting.
The plan fixes the position of features hidden from view; it does not fix decorative details that neither the plan nor reference shows.
Character brief: Create a full-body reference of a fictional adult character standing front-facing in a neutral pose. Give them a short dark bob, a narrow face, a small scar above the left eyebrow, dark trousers and boots. Their defining silhouette is a long, straight navy coat falling below the knees. Use a plain background so that the outline and clothing are easy to inspect.
The character revision will replace the navy coat with a rust-red coat of the same length and straight cut. The color is meant to change; the face, hair, scar, pose, other clothing and overall silhouette are not. Use a fictional design rather than a recognizable person, and make sure the reference shows the defining features clearly enough to assess them.
Test a closer room view and a controlled coat change
Give each tool the relevant starting image and, for the room, the overhead plan. Use the same prompts where the interface allows:
Room prompt: “Using the starting image and overhead plan, move the camera forward from the marked starting position to the marked closer position. Keep it at the same height, facing the poster between the north-wall windows, with the same approximate lens. Frame the poster centrally and include portions of both windows; it should appear larger than in the starting image. Preserve the room’s layout, fixtures, materials and lighting. Show only what would be visible from the new position.”
Character prompt: “Using the starting image, replace the character’s navy coat with a rust-red coat of the same straight cut and below-knee length. Preserve the character’s face, short dark bob, eyebrow scar, pose, trousers, boots, full-body framing and overall silhouette. Keep the plain background.”
For the room, do not expect every feature to occupy the same place in the frame. Moving a camera changes perspective and may hide objects. The question is whether the visible features remain plausible relative to the plan. A tighter crop can also make the poster larger without moving the viewpoint; inspect changes in perspective around the windows and desk where visible.
A single image may not provide enough evidence to distinguish a camera move from a crop or lens change, so mark the move uncertain rather than awarding it full credit on framing alone.
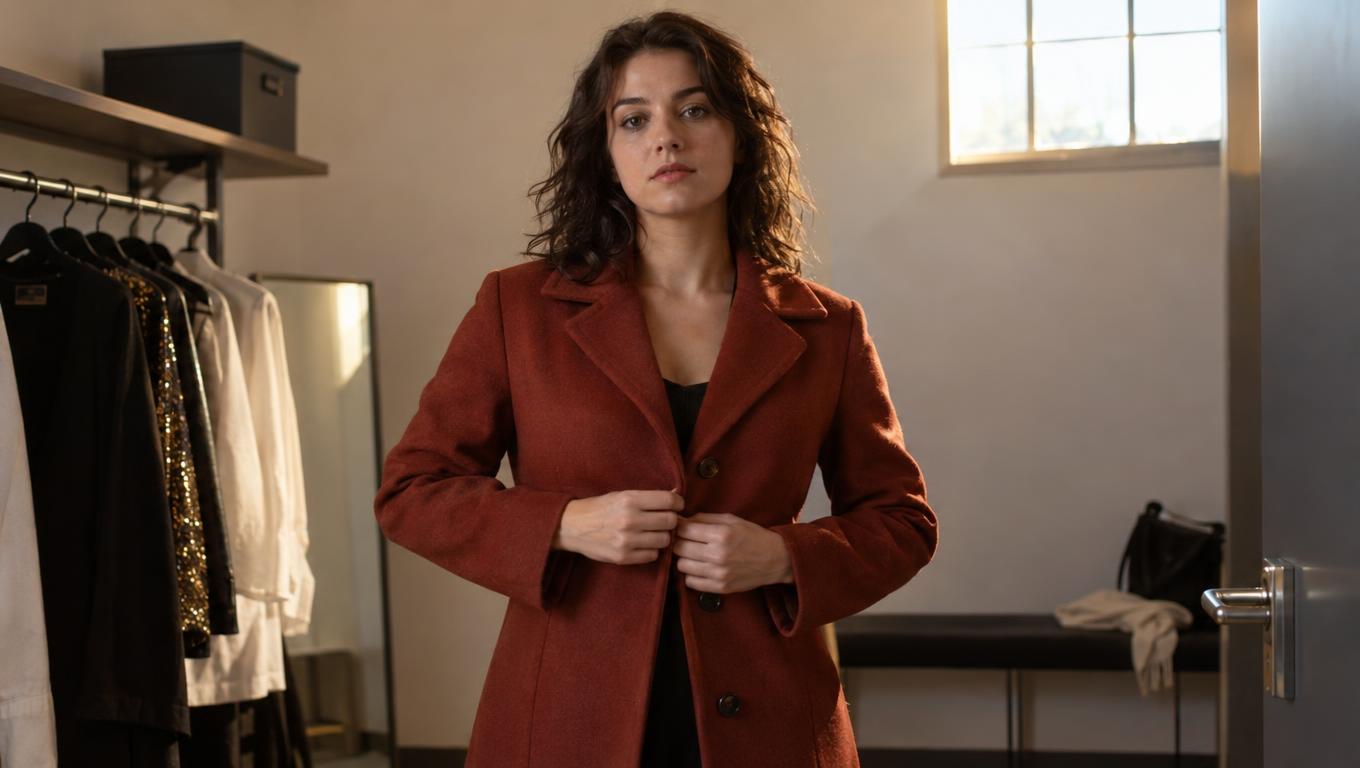
Separate first-pass variation from revision effort
For a common-input pass, make three independent attempts per brief with each tool: six outputs per tool. Start every attempt from the original reference, rather than from a previous result. Use the same aspect ratio wherever supported, keep every output and record the date, product, model version, plan or subscription tier, inputs, prompts and relevant settings. Note whether the tool generated a new image or edited the reference.
If a tool cannot accept both the room image and the plan, do not silently treat its result as equivalent. Give it the starting image and include the written room layout and camera positions in the prompt; record that it did not receive the visual plan. If it cannot accept the starting image either, record that limitation and assess its results separately from image and video workflow. First-pass attempts show variation, not the full cost of getting to an acceptable image.
Run a separate, bounded revision pass starting with the first output for each brief, even if another attempt looked better. Allow up to two additional rounds, each producing one output. In each round, describe the specific errors to correct while retaining the original brief. Stop early if the result meets the usability threshold.
Record the added prompts, edits, retries and any manual correction needed after the final round. If a tool offers a native control such as a sketch guide or localized edit, you can test it in a separate pass under the same two-round limit. Keep that result distinct from the common-input comparison: extra control may be worthwhile, but it is part of the effort being compared.
Score what the images actually show
Set the intended-use threshold before looking at the outputs. For a concept revision that must guide the next shot decision, a workable starting threshold is:
- Room: The poster is central and larger, portions of both windows are visible, and the view provides evidence of the requested move rather than only a tighter crop. No visible feature contradicts the plan, and the established fixtures, materials and lighting remain recognizably consistent.
- Character: The coat is rust-red and retains its specified cut and length. The face, hair, visible scar, pose, trousers, boots, full-body framing and overall silhouette remain consistent with the reference.
Score each first-pass output as usable, not usable or not assessable against that threshold, with a note explaining why. For the room, record the camera move, visible landmarks, geographic contradictions and changes to design or lighting. Mark a hidden landmark not assessable, not correct or wrong. New detail in a previously unseen area is not automatically a contradiction.
For the character, record the requested coat change separately from identity and design drift. A coat can have the right color while the face or silhouette changes; a small or obscured scar may make that particular feature impossible to assess. Use the same standard for all tools, including when an attractive image makes a defect tempting to overlook.
Count usable first-pass results out of three for each brief. Then report the bounded revision result alongside it: whether the first attempt reached the threshold within two rounds and what correction remained. This keeps a high first-pass success rate distinct from a result achieved through additional intervention. Three attempts are a small sample, so treat the counts as observations rather than reliable performance estimates.
Check permissions before using production references
A service’s permission to use its outputs commercially is not the same as copyright protection, ownership, or permission to upload someone else’s image. Before testing with real project material, check the current official terms for the particular service and plan, including commercial-use conditions, upload rights, confidentiality, retention and any use of inputs for model training. These conditions can change; this comparison does not verify them for any provider.
Use references you have permission to upload and share, and avoid confidential client material or personal images until the applicable privacy and contractual conditions have been reviewed. A tool that produces a useful edit may still be unsuitable for a particular project if its terms do not permit the required use.
Choose for the task, then extend the test
The comparison draws on questions raised by two vendor sources: RenderKind proposes assessing licensing, identity consistency, workflow and output quality; Loova discusses references, editing and workflow, and recommends Midjourney for stylized exploration. Both promote products, so their advice is useful as a source of test ideas rather than as independent evidence of film-production performance.
For mood exploration, the strongest initial image may be the right choice. For a reference-driven revision, weigh the first-pass results against the bounded revision effort and the rights conditions. A tool that performs well on one of these fictional briefs has not thereby proved itself across all interiors, characters or productions.
Run both briefs against a shortlist, then extend the same test to the constrained changes your project actually needs. If room geography continues to drift, a visual guide, manual composite or simple 3D blockout may be a better starting point than further prompt retries.