From storyboard to screen, all in one studio
Your story is ready to move. Turn storyboard frames into video, give your characters a voice, build a soundtrack, and shape it all into a sequence—without losing sight of the story you started with.
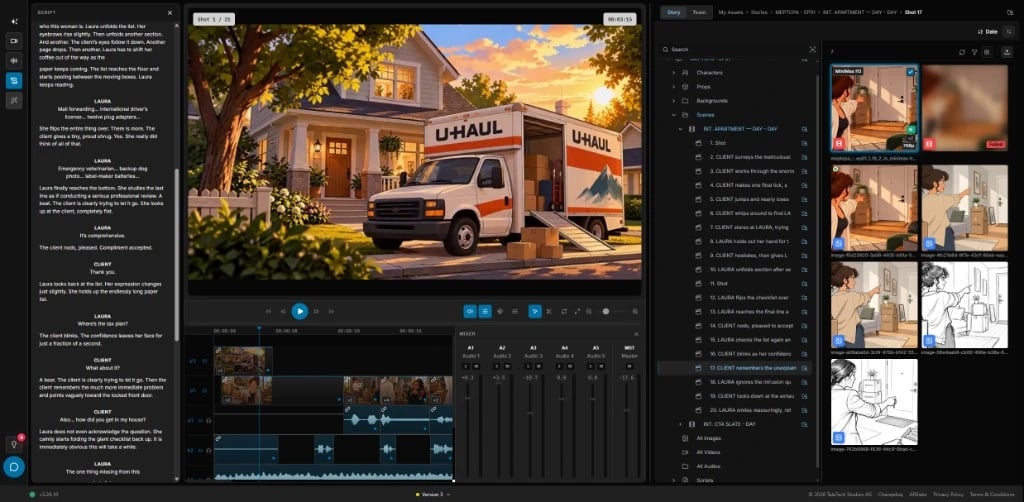
01 / Timeline
Your storyboard becomes your edit
Start with the shots you already planned. Bring them onto the timeline, find the rhythm of the scene, and build your sequence with picture and sound on separate tracks.
Your shots stay connected to your story as you move from planning to production. Keep experimenting until the cut feels right.
Shot order
Lay shots in the order of the board, then rearrange them when the cut needs a different rhythm.
Frame-accurate trims
Set where each shot starts and ends before you spend a render on a longer take.
Picture and sound
Keep image, dialogue, and music on the timeline so timing is visible in one place.
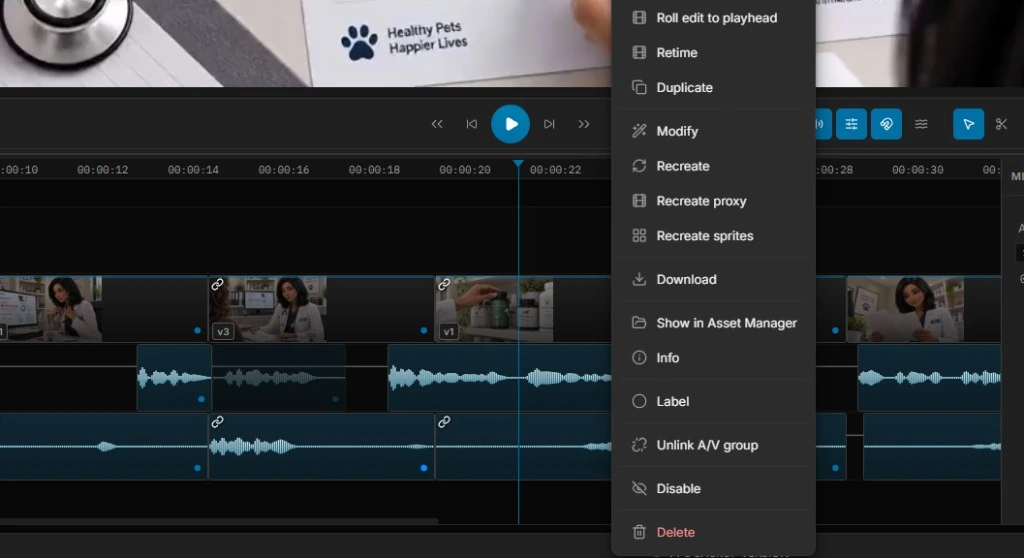
02 / Generate
Give every shot its moment
Turn a storyboard frame into a moving shot. Choose a video model, describe the action, and use references to guide the result.
Try different takes, refine the motion, and build your sequence one shot at a time.
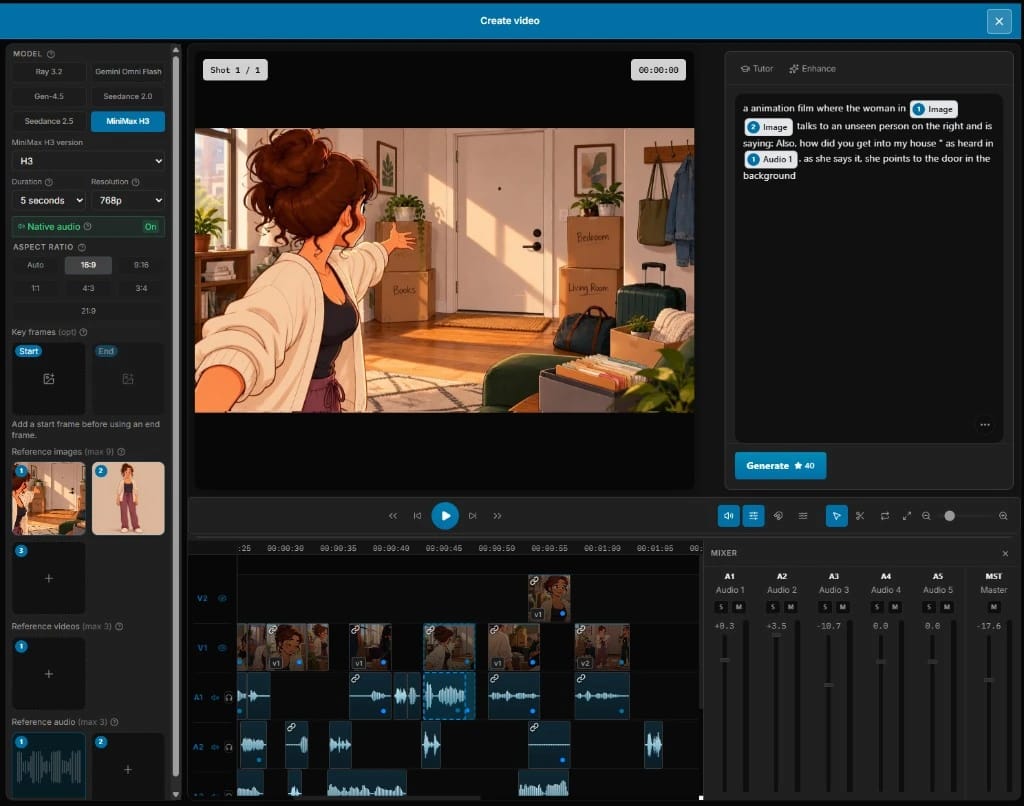
From the approved frame
Start from the storyboard image, a start frame, or an end frame when the model uses them.
Model for the shot
Choose the video model on that shot. The prompt and references follow that model’s rules.
Replace, don’t rebuild
Swap a weak take for a new one without rebuilding the timeline around it.
03 / Sound
Make your story sound alive
Give your characters voices and direct how they deliver each line. Create a reusable voice from a description or audio sample, then bring the performance into your scene.

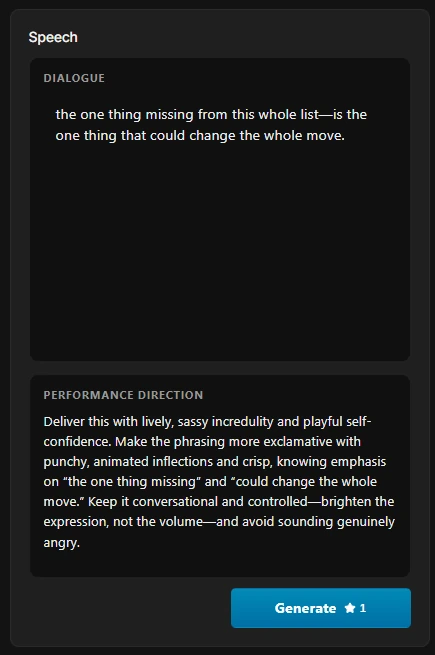
Add the atmosphere around them: generate sound effects and music, then bring picture and sound together on the timeline.
Character voices
Match a voice to the character and keep that voice across their lines.
Sound effects
Create the effects the shot needs and lay them against the picture.
Music
Score the sequence and hear it on the timeline while you cut.
Delivery
Take your story wherever it needs to go
Share the finished sequence from Ciaro, or continue editing in Premiere Pro or DaVinci Resolve. Your story can keep moving through your production workflow.
4K
Export the sequence at up to 4K.
HDR
Deliver a high dynamic range master when the grade needs it.
EXR
Hand OpenEXR frames to a colour pipeline.
Premiere and Resolve
Continue the cut in Premiere Pro or DaVinci Resolve with the Ciaro Pro plugins.

Premiere Pro integration
Bring the full Ciaro Pro production toolkit into Premiere Pro.
Generate visual and audio media, connect your account, and sync production assets directly into the bins where editors work.
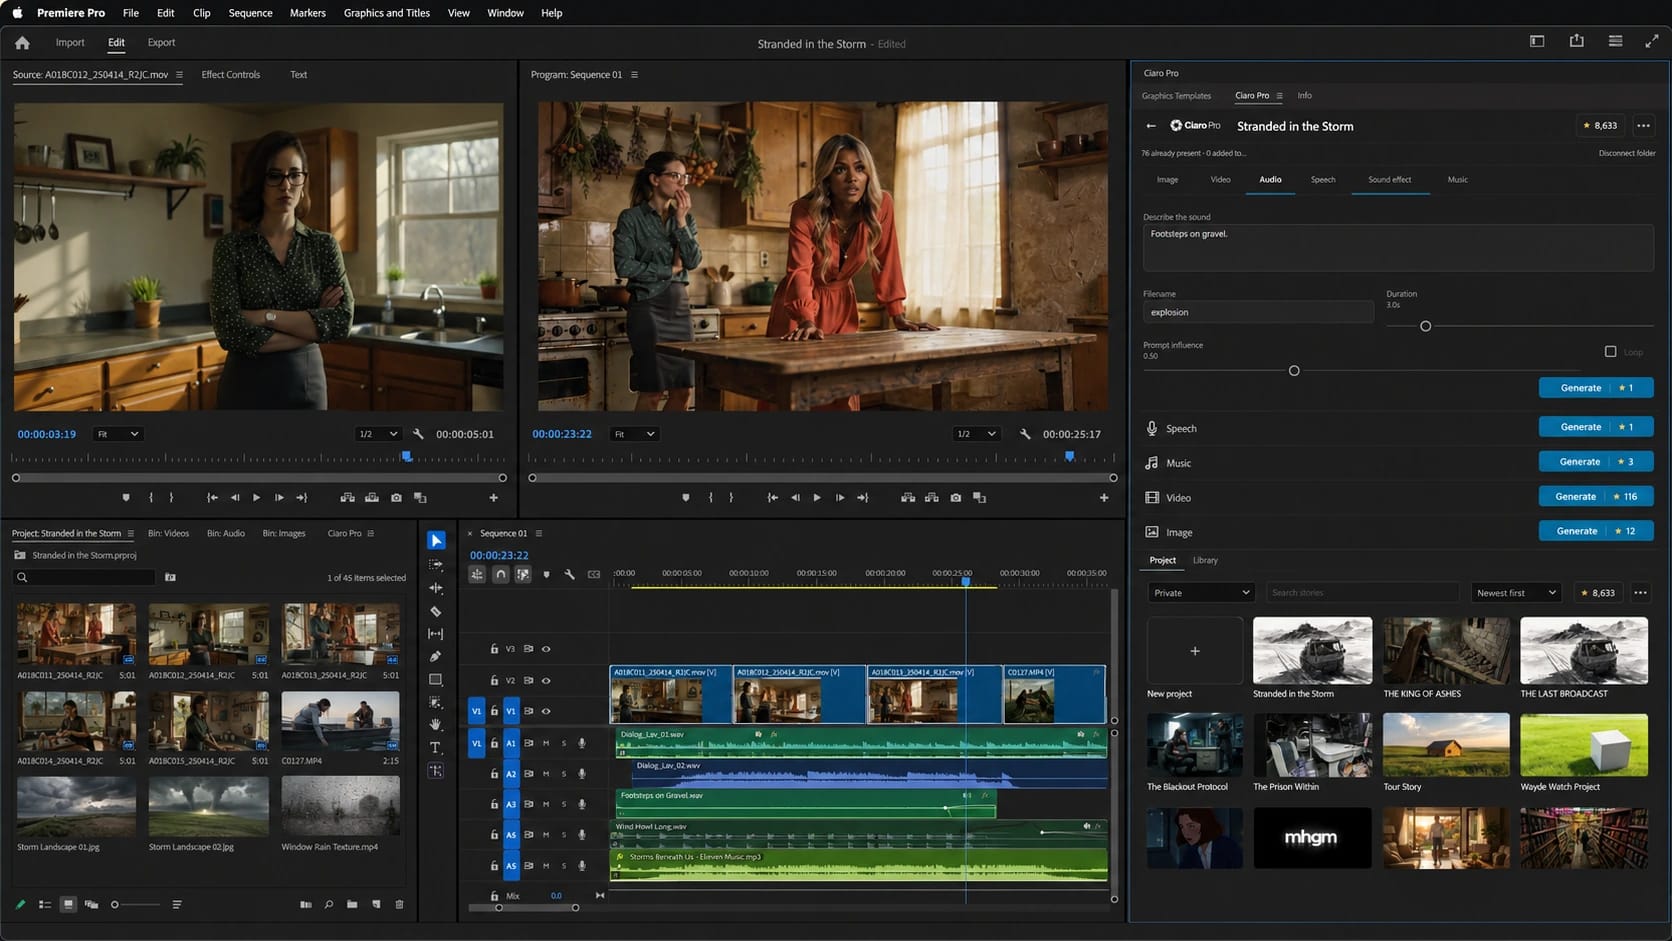
Keep creating in your editor
Bring your Ciaro stories into your editing workflow. Choose the plugin for your editor.
Premiere Pro plugin
Generate images, video, speech, music, and SFX, then sync Ciaro Pro assets into Premiere Pro bins.
Explore the pluginDaVinci Resolve plugin
Connect your workspace, choose a story and keep its media and sequences close to your edit. The plugin runs inside DaVinci Resolve Studio.
Explore the pluginScript to production
Move from breakdown and shot lists to storyboards, notes, and approvals without losing intent.
Help Center
How to in Ciaro Pro
Step-by-step guides for the workflows on this page — from first click to finished output.
Next
Keep going from here
More on storyboards, generation, and finishing—chosen for the page you are on.